

Ultimate Weapon
The Xenomorph
Whenever you search a Locker, Survivors within 40m:
• Gain Blindness for 30s.
• Scream.
Cooldown: 55/50/45s.
A relentless specimen from a distant planet, The Xenomorph is vicious, agile, and cunning. Its personal perks, Ultimate Weapon, Rapid Brutality, and Alien Instinct allow it to cause nearby Survivors to scream, gain Haste after basic attacks, and see auras of faraway Survivors.
"Supposedly responding to a distress signal, the Nostromo's crew landed on LV-426. What they found there became one of humanity's greatest horrors." SPECIAL ABILITY: HIDDEN PURSUIT The Xenomorph has a set of intertwining Tunnels available to it beneath the environment that it can access from any of the 7 Control Stations spawning in the environment. SPECIAL OBJECT: CONTROL STATIONS The Auras of Control Stations are revealed to The Xenomorph in white at all times and within 12 metres to nearby Survivors. SPECIAL INTERACTION: HIGHLIGHTING CONTROL STATIONS Press the Secondary Power button while aiming at any Control Station to highlight it in yellow: • This reveals the shortest path to that Control Station when navigating through the Tunnels. When near an Exit Gate, the nearest Control Station is automatically highlighted. SPECIAL LOCOMOTION: TUNNELS Press the Interaction button at a Control Station to enter the Tunnels: • Grants the Undetectable Status Effect. • Increases its Movement speed to 18 m/s. • Increases the Charge speed of Crawler Mode to +8 c/s. Press it again while beneath the same or another Control Station to exit the Tunnels, which triggers the following effects within 12 metres of the Control Station: • Triggers Killer Instinct for 3 seconds. • Deactivates any deployed Turrets for 2.5 seconds. SPECIAL ABILITY: TRACKING FOOTSTEPS While inside the Tunnels, The Xenomorph can detect the movement of Survivors walking or running above it within 16 metres of its location, indicated by reddish footsteps spawning on the ceiling. Survivors can avoid being detected by crouching or standing still. SPECIAL STATE: CRAWLER MODE The Xenomorph passively charges Crawler Mode at a rate of +1 c/s when outside of the Tunnels. Once the Power Gauge is full at 35 Charges, it automatically enters it: • Causes The Xenomorph to walk on all fours. • Reduces its Terror Radius to 24 metres. • Grants the ability to perform a Tail Strike Attack. There are only two ways for The Xenomorph to exit this mode: • It picks up and carries a downed Survivor. • It receives too much fire damage from Remote Flame Turrets. SPECIAL ATTACK: TAIL STRIKE While in Crawler Mode, press the Power button to perform a Tail Strike Attack, which has an increased reach of 4.8 metres. SPECIAL ITEM: REMOTE FLAME TURRET Survivors can interact with a Control Station to retrieve up to 4 Remote Flame Turrets in total and deploy them in the environment to counteract The Xenomorph Turrets can also be undeployed, carried to a new location, and be redeployed. While carrying a Turret, Survivors experience the following effects: • Causes them to suffer from a -35 % Hindered Status Effect and the Exhausted and Incapacitated Status Effects. • Grants immunity from being detected by The Xenomorph when it is inside the Tunnels. • Reveals their Aura and that of the Turret to other Survivors. Whenever The Xenomorph comes within 10 metres of a Turret while in Crawler Mode and has Line of Sight with it, the Turret attacks, staggering The Xenomorph and inflicting fire damage, indicated by the Power gauge filling in red. Once the Power gauge is full at 100 Charges, The Xenomorph is stunned and knocked out of Crawler Mode. The Xenomorph can destroy deployed Turrets by attacking them, causing them to return to Control Stations after 60 seconds. Control Stations have a Cool-down of 30 seconds, before another Turret can be retrieved from the same one. "Its structural perfection is matched only by its hostility." — Ash, Science Officer Power Trivia[] Movement Speeds: Main Article • Tail Attack Cool-down: 1.2 m/s • Walking (outside the Tunnels): 4.6 m/s • Walking (inside the Tunnels): 18 m/s Crawler Mode: • Activation threshold: 35 Charges • Charge rate outside of Tunnels: +1 c/s • Charge rate inside of Tunnels: +8 c/s • De-Charge rate through Turret attack: -1.5 c/s • Maximum remaining Charge after picking up a Survivor: 75 % Tail Attack: • Charge time: 0.3 seconds • Attack range: 4.8 metres • Hitting time: 0.4 seconds • Cool-down on missed attacks: 2.5 seconds • Cool-down on successful attacks: 2.7 seconds • Speed Penalty duration upon cancellation: 1 second • It is possible to cancel the Tail Strike, though only during an incredibly brief window right after initiating the attack. Tunnel System: • Time to enter a tunnel: 0.3 seconds • Transition time: 0.25 seconds • This refers to the time it takes for the normal Map to transition to the Tunnel System after finishing the interaction of entering the tunnels. • Maximum acceleration: x100.0 • Maximum detection distance: 16 metres • This is the maximum range at which The Xenomorph can detect Survivors moving when in a tunnel. • Detection linger time: 1.5 seconds • This is the time when a Survivor can still be detected by The Xenomorph when in a tunnel after having left the detection range. • Time to exit a tunnel: 2.25 seconds • This can be broken down into two separate animations, the first lasting 0.5 seconds and the second 1.75 seconds. • Time penalty when exiting a tunnel close to a hooked Survivor: -200% • Minimum range for time penalty: 16 metres • This is the minimum distance between a hooked Survivor and a Control Station for the time penalty for exiting tunnels to be triggered. • Footstep delay: 0.35 seconds • This is the delay between each footstep spawning when a Survivor is detected from a tunnel. • Exit block duration when entering a tunnel: 2.5 seconds • Detection downtime duration when entering a tunnel: 2.5 seconds Turrets: • Maximum number in pool: 4 Turrets • Spawn time: 1 second • This refers to the time it takes for Turrets to manifest inside a Control Station. • Pickup time: 1.5 seconds • Hindered strength when carrying: -35 % • Auto-destroy timer when dropped: 30 seconds • This timer is paused if a Survivor remains within 6 metres of the dropped Turret. • Respawn timer after destruction: 60 seconds • Deploy/Un-deploy time: 2 seconds • Aura Linger duration: 3 seconds • Detection radius for firing: 10 metres Flame Damage: • Crawler Mode Deactivation threshold: 100 Charges • This refers to how much damage Turrets must apply to The Xenomorph to knock it out of Crawler Mode. • Damage Charge rate: +66 c/s • Damage De-Charge rate: -25 c/s • Damage De-Charge delay: 1 second • Full Damage Stun timer: 1 second Turret Overheating: • Heat Accumulation rate: +25 % per second firing • Heat Dissipation rate: -25 % per second not firing • Malfunction duration: 3.5 seconds • Motion Tracker range: 41 metres • Repair time: 3 seconds Control Stations: • Availability Cool-down for Turrets from the same station: 30 seconds • Aura-reveal range: 16 metres • Killer Instinct Linger duration: 3 seconds
The Xenomorph
The Xenomorph

The Xenomorph
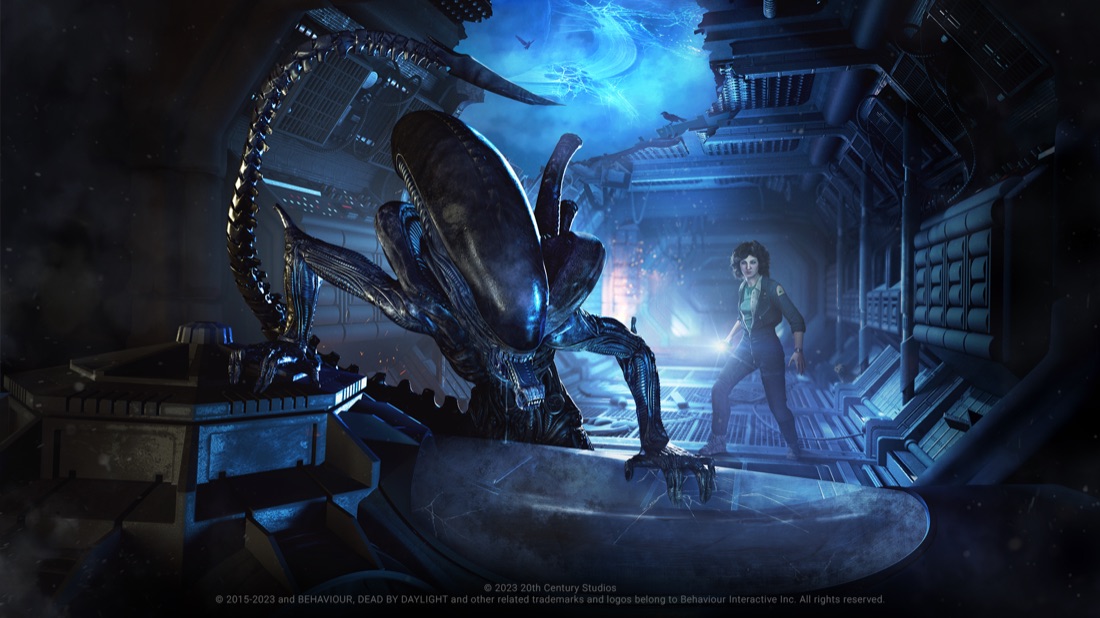
A perfect organism, born of violence, designed to kill. The Xenomorph emerged from the chest cavity of a host named Kane and sought cover in the shadows of the Nostromo. As it shed its skin, The Xenomorph came to understand its environment. Using the ship’s air ducts, it killed its prey one by one, until only the human Ripley remained. Desperate for survival, Ripley destroyed the Nostromo and sought refuge in an escape vessel. But The Xenomorph’s instincts gave it the edge. As the escape vessel floated through space, the Xenomorph lay in wait, watching its prey. Just as it went in for the kill, the vessel’s airlock opened and The Xenomorph was ejected into the cold vacuum of space. All was lost. The Xenomorph was close to death. And then, in an instant, it disappeared in a cloud of black fog.
0 builds · grouped by playstyle
Be the first to share a The Xenomorph loadout — craft one in the creator and it shows up here.